Build a serverless API using Drizzle ORM, Hono, and Neon
Prerequisites
To successfully complete this tutorial, you will need:
Overview
In this tutorial, you will learn how to use Cloudflare Workers, Hono, Drizzle ORM, and Neon to build a serverless API.
If you would like to review the code for this tutorial, the final version of the codebase is available on GitHub. You can take the code provided in the example repository, customize it, and deploy it for use in your own projects.
1. Set up the project using create-cloudflare-cli
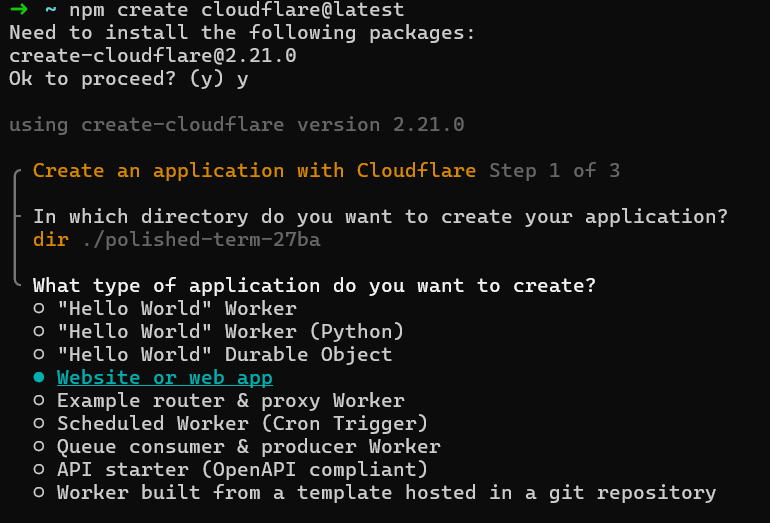
First, use the create-cloudflare CLI to create a new Cloudflare Workers project. To do this, open a terminal window and run the following command:
Create a new project with C3$ npm create cloudflare@latest
To configure your Worker:
- Select
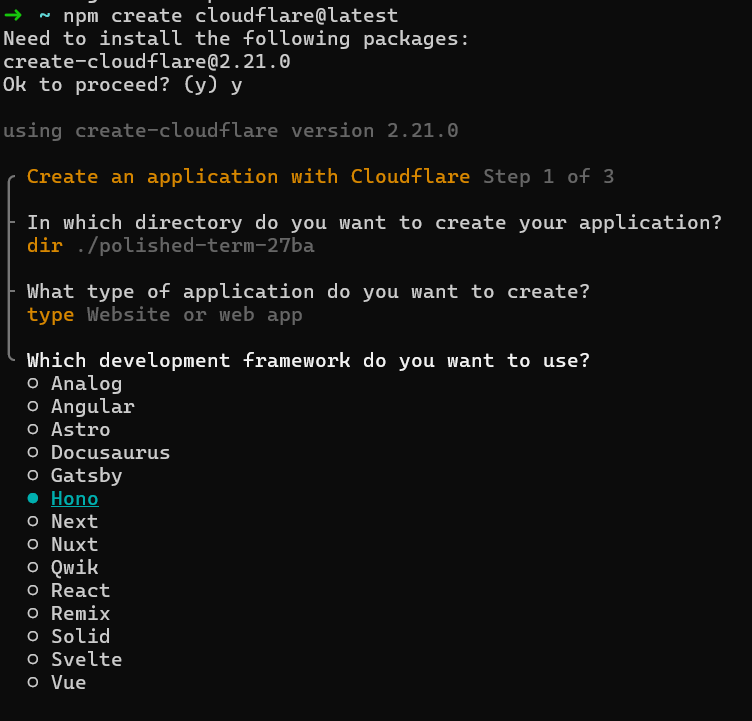
Website or web appfor the type of application you would like to create. - Select
HonotoWhich development framework do you want to use? - Answer
YestoDo you want to use git for version control? - Answer
NotoDo you want to deploy your application?
2. Set up Hono
To get started, run the following command in your project to add Hono as a dependency:
Install Hono$ npm install hono
Next, go to your src/index.ts file and replace the existing code with the code provided below:
src/index.tsimport { Hono } from 'hono';

export type Env = {  DATABASE_URL: string;
};

const app = new Hono<{ Bindings: Env }>();
app.get('/', (c) => {  return c.json({    message: 'Hello World!',  });
});

export default app;
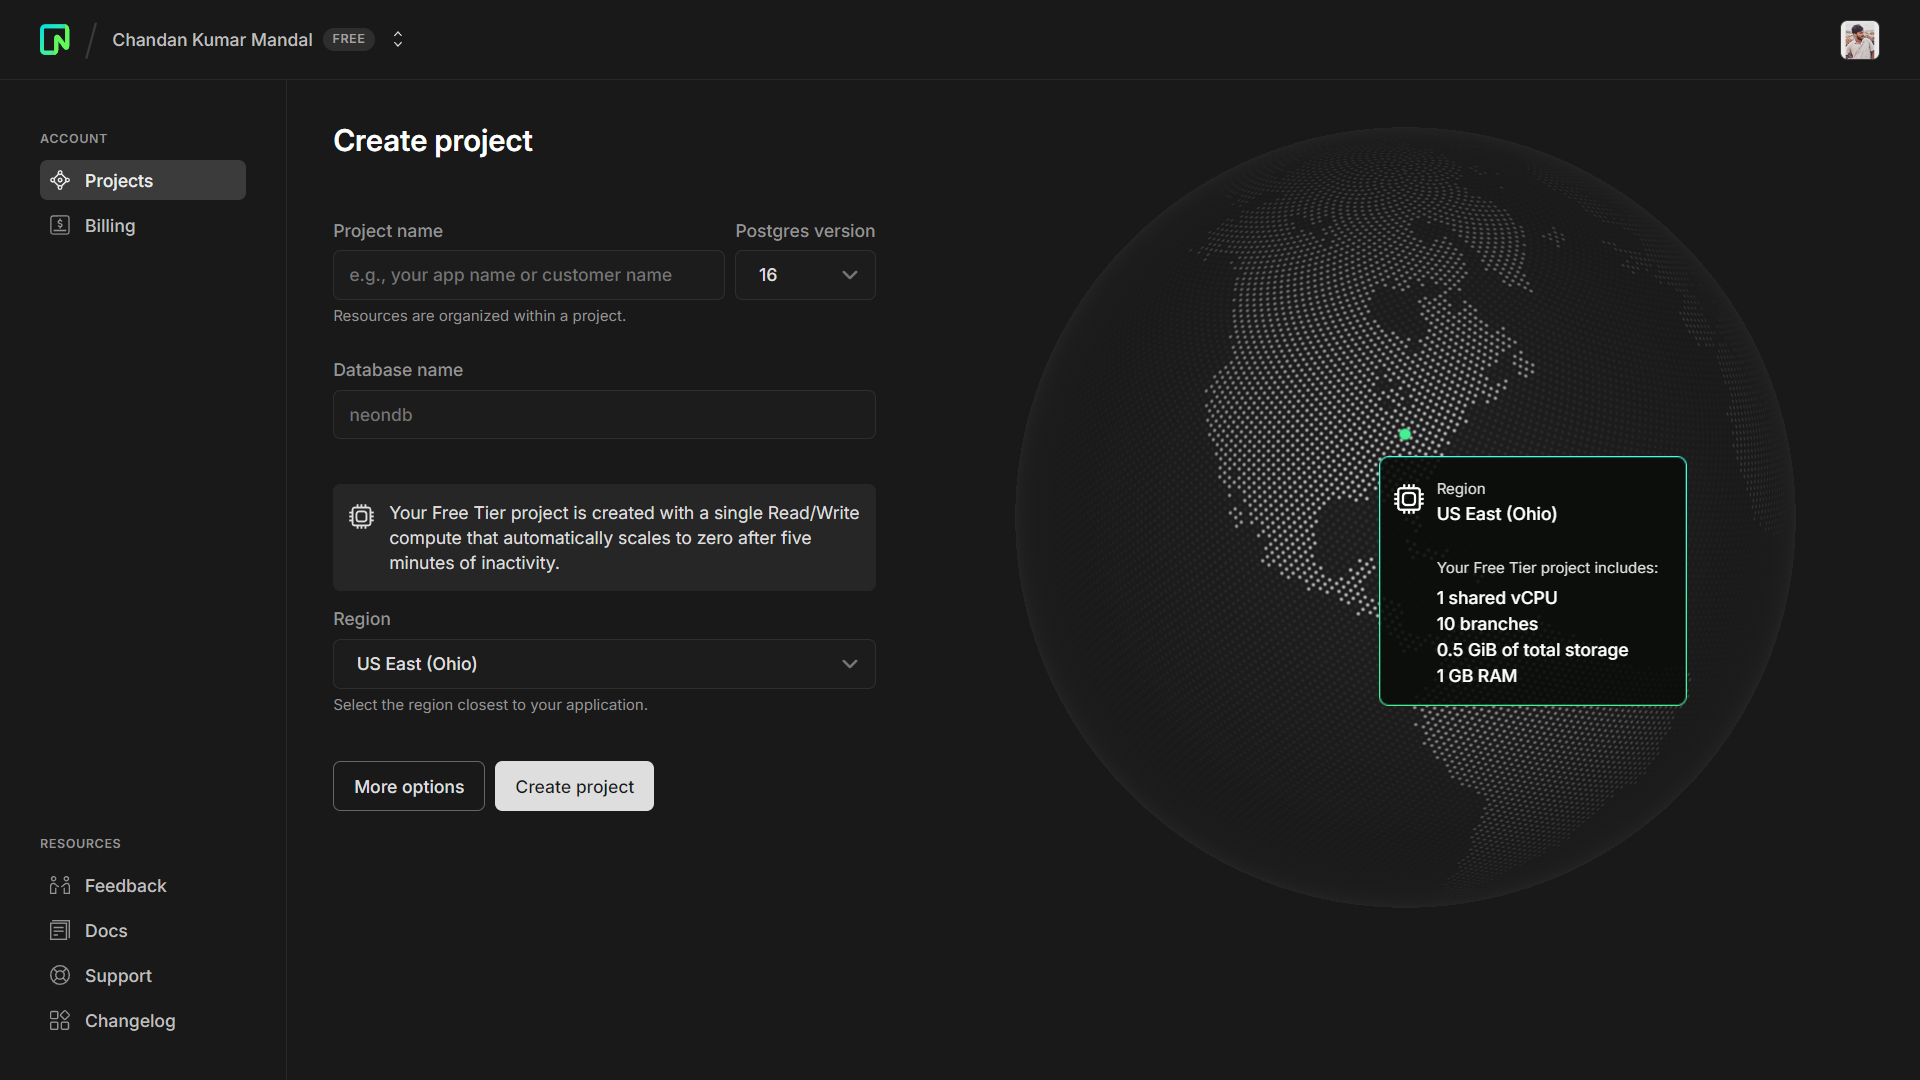
3. Create a Neon project
Once you have created your Neon account, go to your Neon console and create a new project. Choose 16 as the Postgres version, select the region closest to where you want to deploy your app and select a size for your compute endpoint (you can change this later).
After creating your project, you will get a connection string used to connect to your database. In the root of your project, create a .dev.vars file and add the connection string as an environment variable. It should be formatted like a dotenv file, such as KEY=VALUE.
.dev.varsDATABASE_URL="postgresql://<username>:<password>@ep-dry-violet-a5iayyaq.us-east-2.aws.neon.tech/neondb" 4. Add Drizzle ORM and Kit to your project
To add Drizzle to your project, run the following commands:
Install Drizzle ORM and Kit$ npm i drizzle-orm @neondatabase/serverless
$ npm i -D drizzle-kit postgres dotenv tsx
The first command installs drizzle-orm along with @neondatabase/serverless. This enables you to connect to Neon from serverless environments.
Then, install drizzle-kit for generating migrations, postgres.js to establish a connection when running migrations, dotenv for loading environment variables, and tsx for executing TypeScript files.
5. Define the schema using TypeScript
In your source directory (i.e. src), create a new db/schema.ts file. This file will contain the database schema definition in TypeScript. Add the following code to the file you just created:
db/schema.tsimport { pgTable, serial, text, doublePrecision } from 'drizzle-orm/pg-core';

export const products = pgTable('products', {  id: serial('id').primaryKey(),  name: text('name'),  description: text('description'),  price: doublePrecision('price'),
});
6. Generate database migrations
In the project’s root directory, create a drizzle.config.ts file and add the following code:
drizzle.config.tsimport type { Config } from 'drizzle-kit';

export default {  schema: './src/db/schema.ts',  out: './drizzle',  dialect: 'postgresql',
} satisfies Config;
In this config file, you will specify the location of your schema as well as the output directory, which will contain the generated migrations. In this tutorial, the output directory is called drizzle and will be located in the project’s root directory.
The next step is to generate the database migrations. Modify your package.json file and add a new db:generate command in the scripts object:
package.json"scripts": {  ...  "db:generate": "drizzle-kit generate"
},...
Now if you run the command npm run db:generate, you will see a newly generated SQL migration file in the /drizzle directory. The final step is to apply the migration to the database.
7. Apply migrations to the database
In your project’s root directory, create a migrate.ts file and add the following code to it:
migrate.tsimport { config } from 'dotenv';
import { migrate } from 'drizzle-orm/postgres-js/migrator';
import postgres from 'postgres';
import { drizzle } from 'drizzle-orm/postgres-js';

config({ path: '.dev.vars' });

const databaseUrl = drizzle(postgres(`${process.env.DATABASE_URL}`,
{ ssl: 'require', max: 1 }));

const main = async () => {  try {    await migrate(databaseUrl, { migrationsFolder: 'drizzle' });    console.log('Migration complete');  } catch (error) {    console.log(error);  }  process.exit(0);
};

main();
Finally, to be able to execute this migrate.ts file, modify your package.json file and add a new db:migrate script in the scripts object:
package.json..."scripts": {  ...  "db:migrate": "tsx migrate.ts",
},...
You can test it by running the following command, which applies the migration to your database:
$ npm run db:migrate
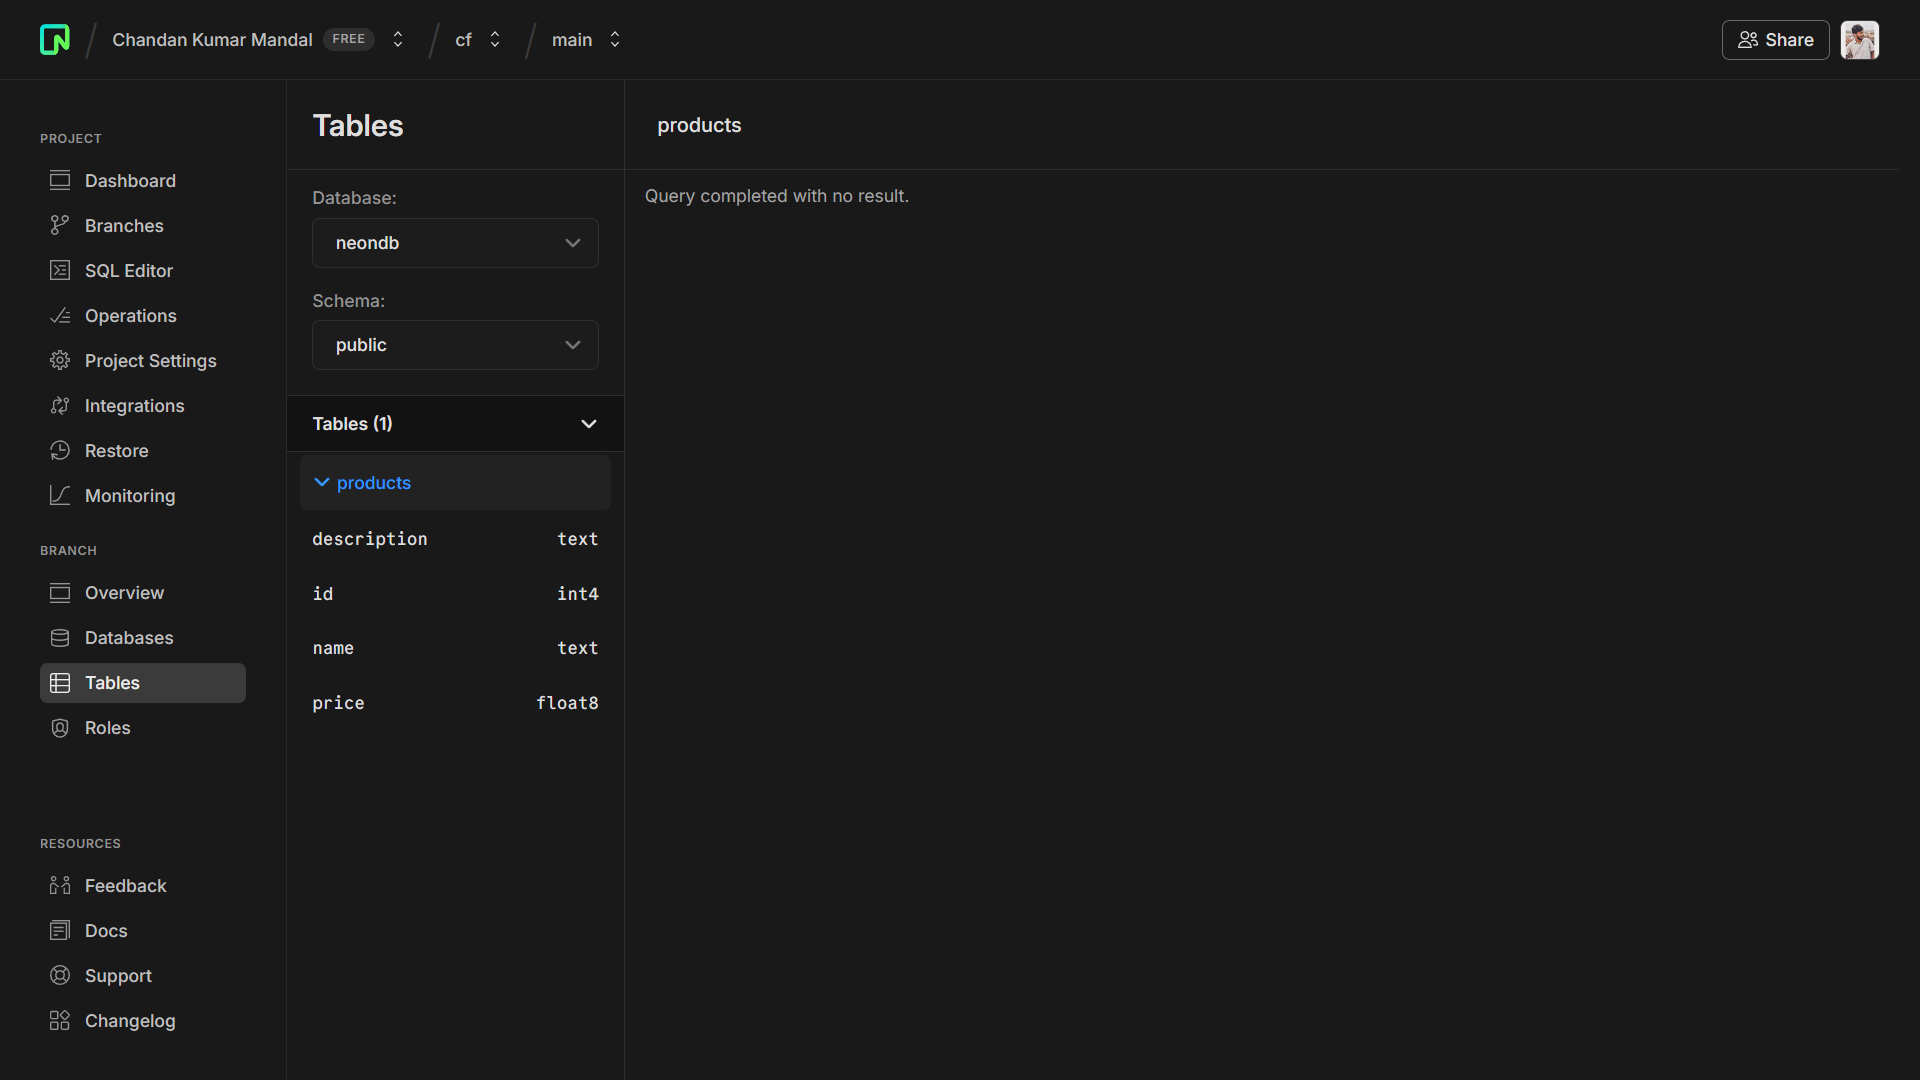
You can check that the tables have been created successfully by going to the “Tables” page in the Neon console.
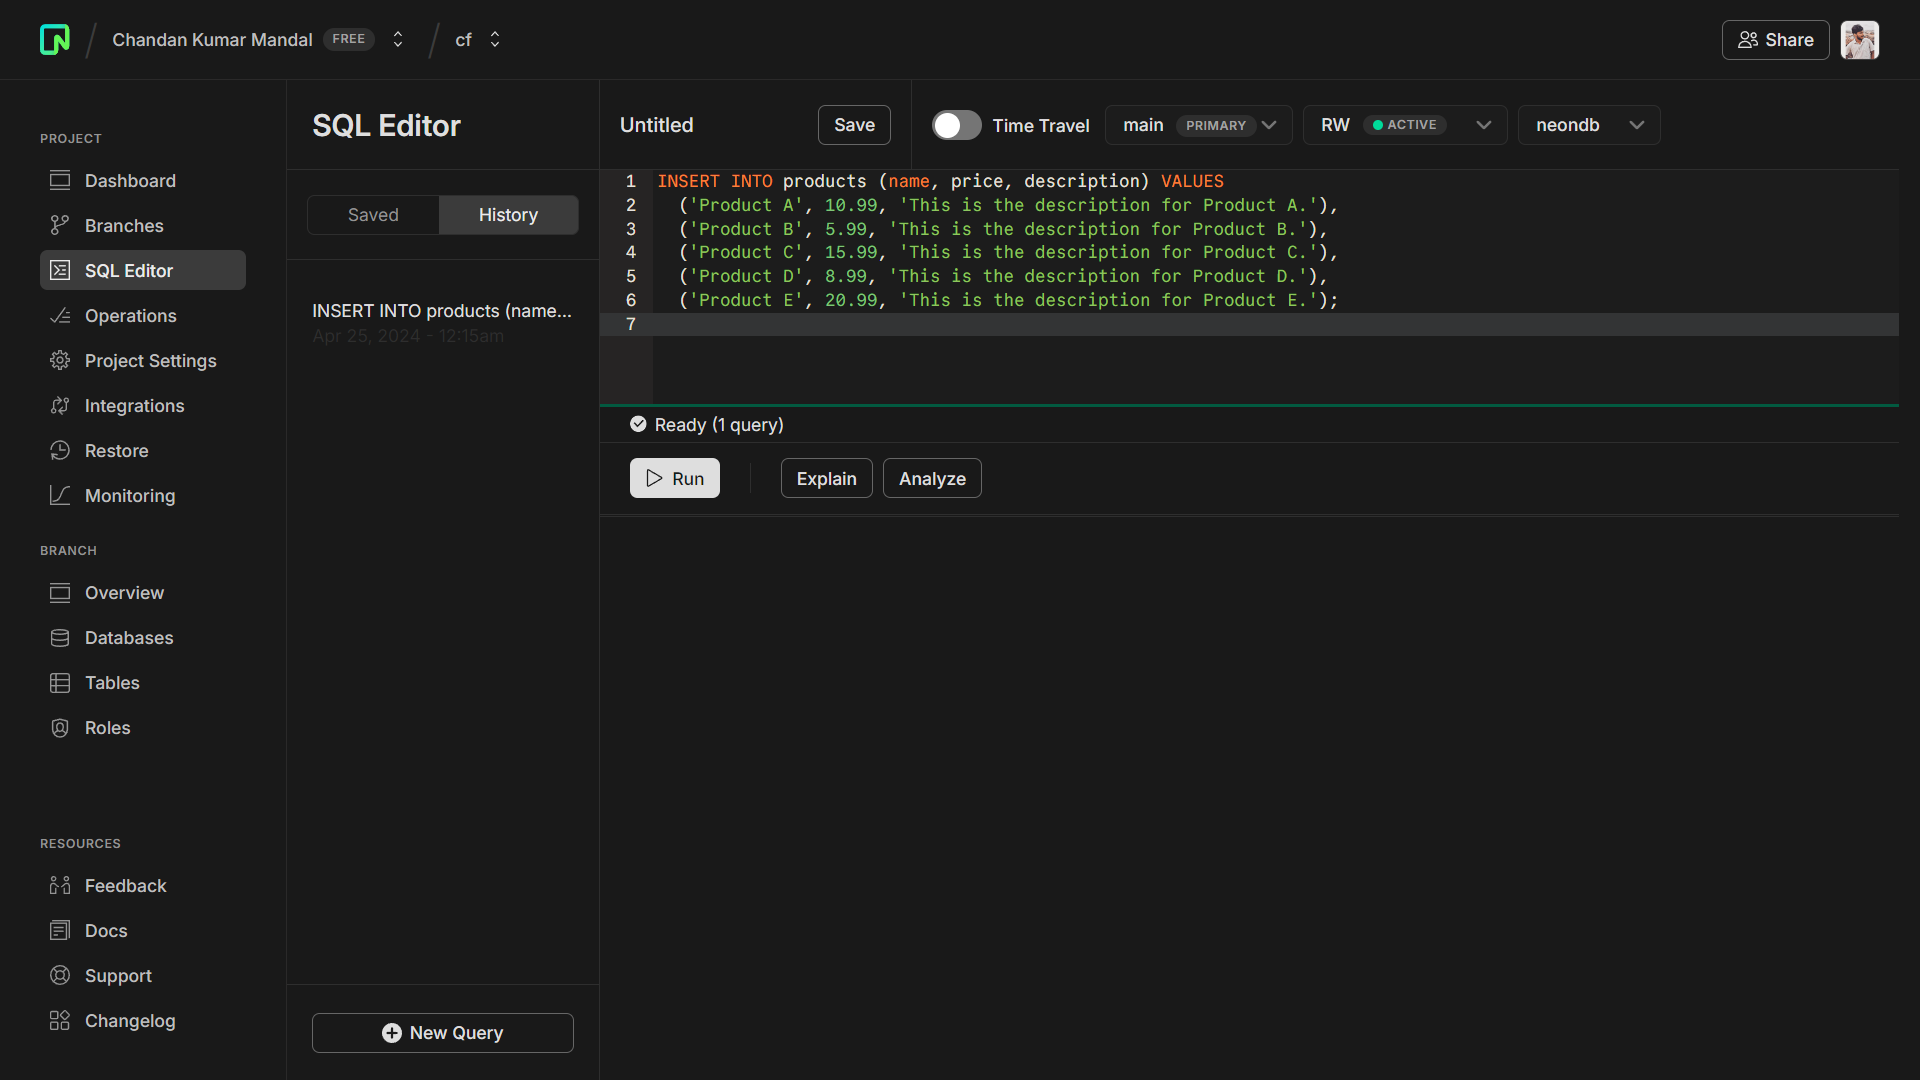
8. Add data using Neon’s SQL editor
Until this step, the products table you created has been empty. In the Neon console, go to the SQL editor and run the following SQL query to add data to the products table by executing following SQL query:
INSERT INTO products (name, price, description) VALUES ('Product A', 10.99, 'This is the description for Product A.'), ('Product B', 5.99, 'This is the description for Product B.'), ('Product C', 15.99, 'This is the description for Product C.'), ('Product D', 8.99, 'This is the description for Product D.'), ('Product E', 20.99, 'This is the description for Product E.');
The next step is to connect to the database from the Worker.
9. Connect to Neon from the Worker
Add the following code to your Worker’s src/index.ts file:
src/index.tsimport { drizzle } from 'drizzle-orm/neon-http';
import { neon } from '@neondatabase/serverless';
import { products } from './db/schema';
import { Hono } from 'hono';

export type Env = {  DATABASE_URL: string;
};

const app = new Hono<{ Bindings: Env }>();
app.get('/', async (c) => {  const sql = neon(c.env.DATABASE_URL);  const db = drizzle(sql);  const result = await db.select().from(products);  return c.json({ result });
});
app.onError((error, c) => {  console.log(error)  return c.json({ error }, 400)
})

export default app;
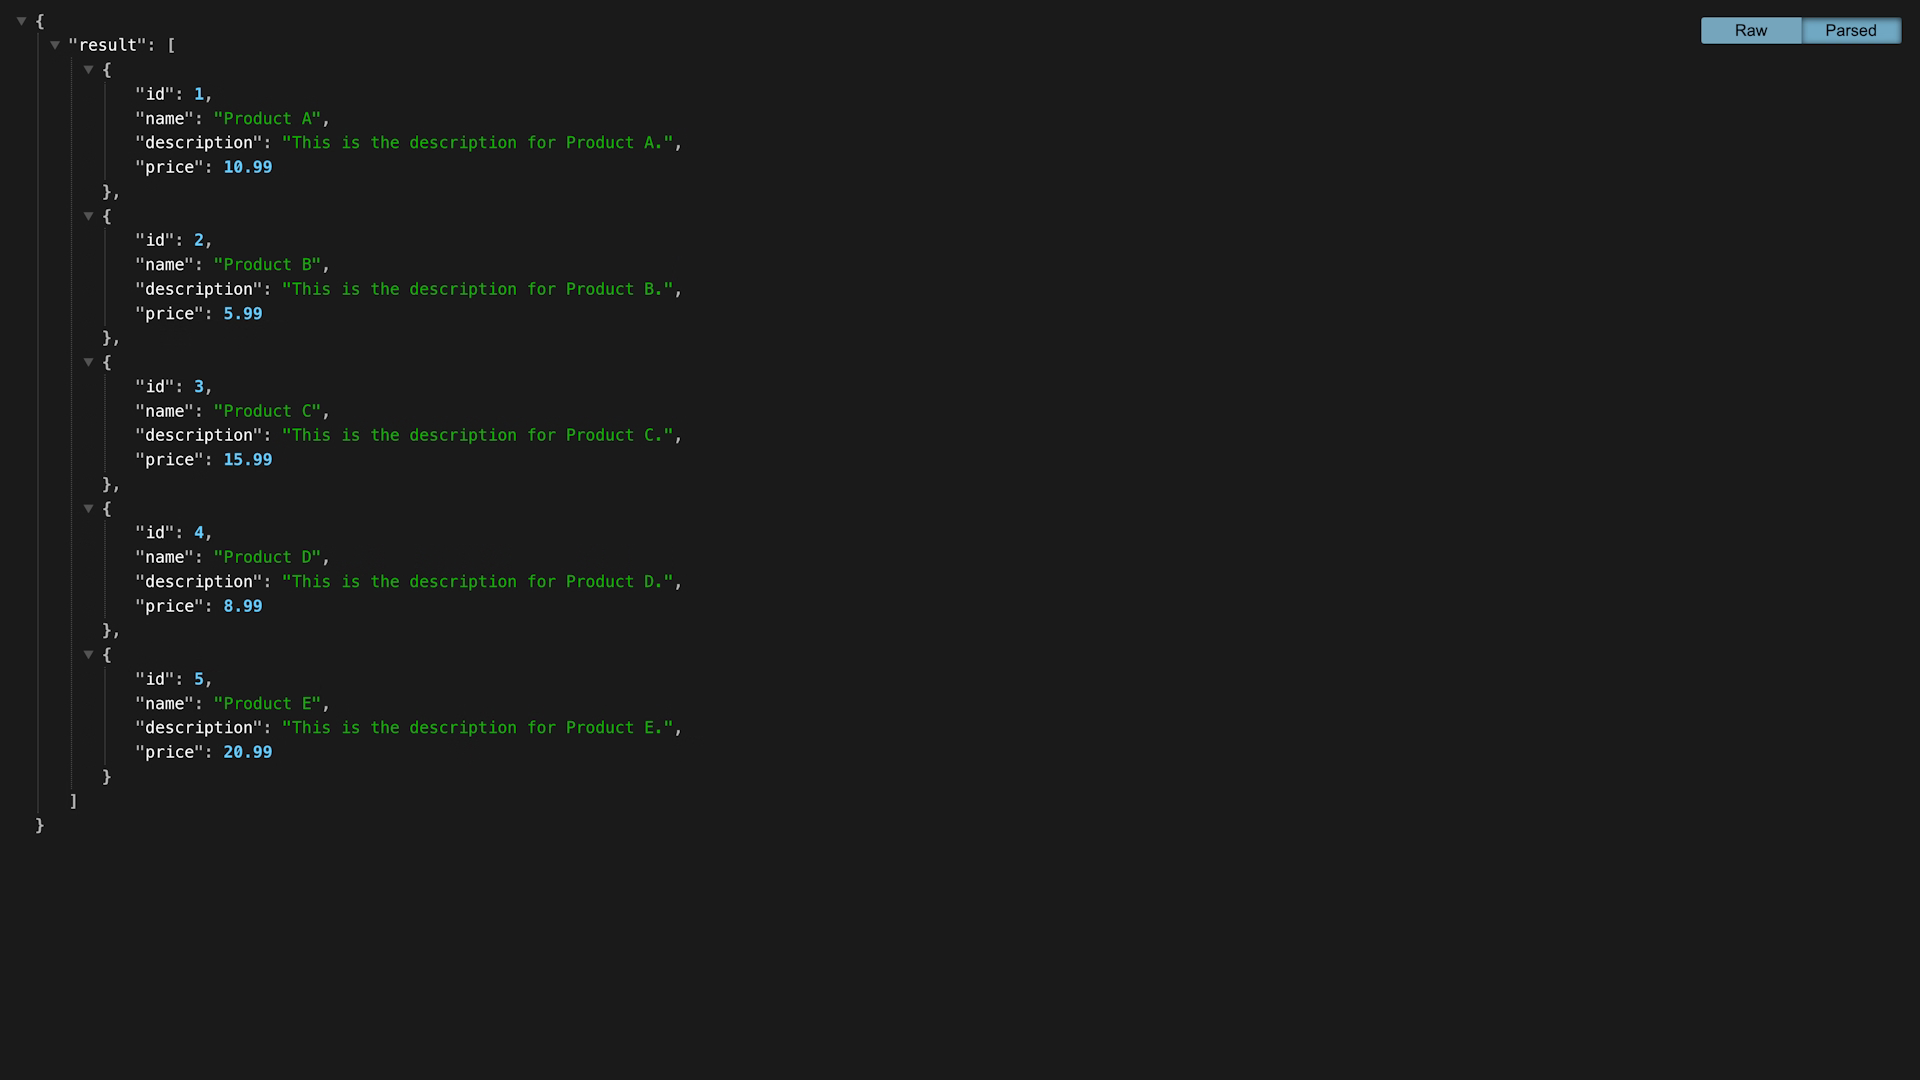
If you start your development server and go to http://localhost:8787, your browser will display data being returned as JSON.
10. Deploy your Worker using Wrangler
To deploy your app, you must first log into your Cloudflare account. To do that, run npx wrangler login. You will be redirected to Cloudflare, where you can connect the CLI to your account.
Once logged in, run npx wrangler deploy, which deploys your Worker. If you try to visit the deployed version, you will run into an error because you have not included the DATABASE_URL environment variable. To do that, you will leverage the Neon integration on Cloudflare.
Deploy your Worker project$ npx wrangler deploy
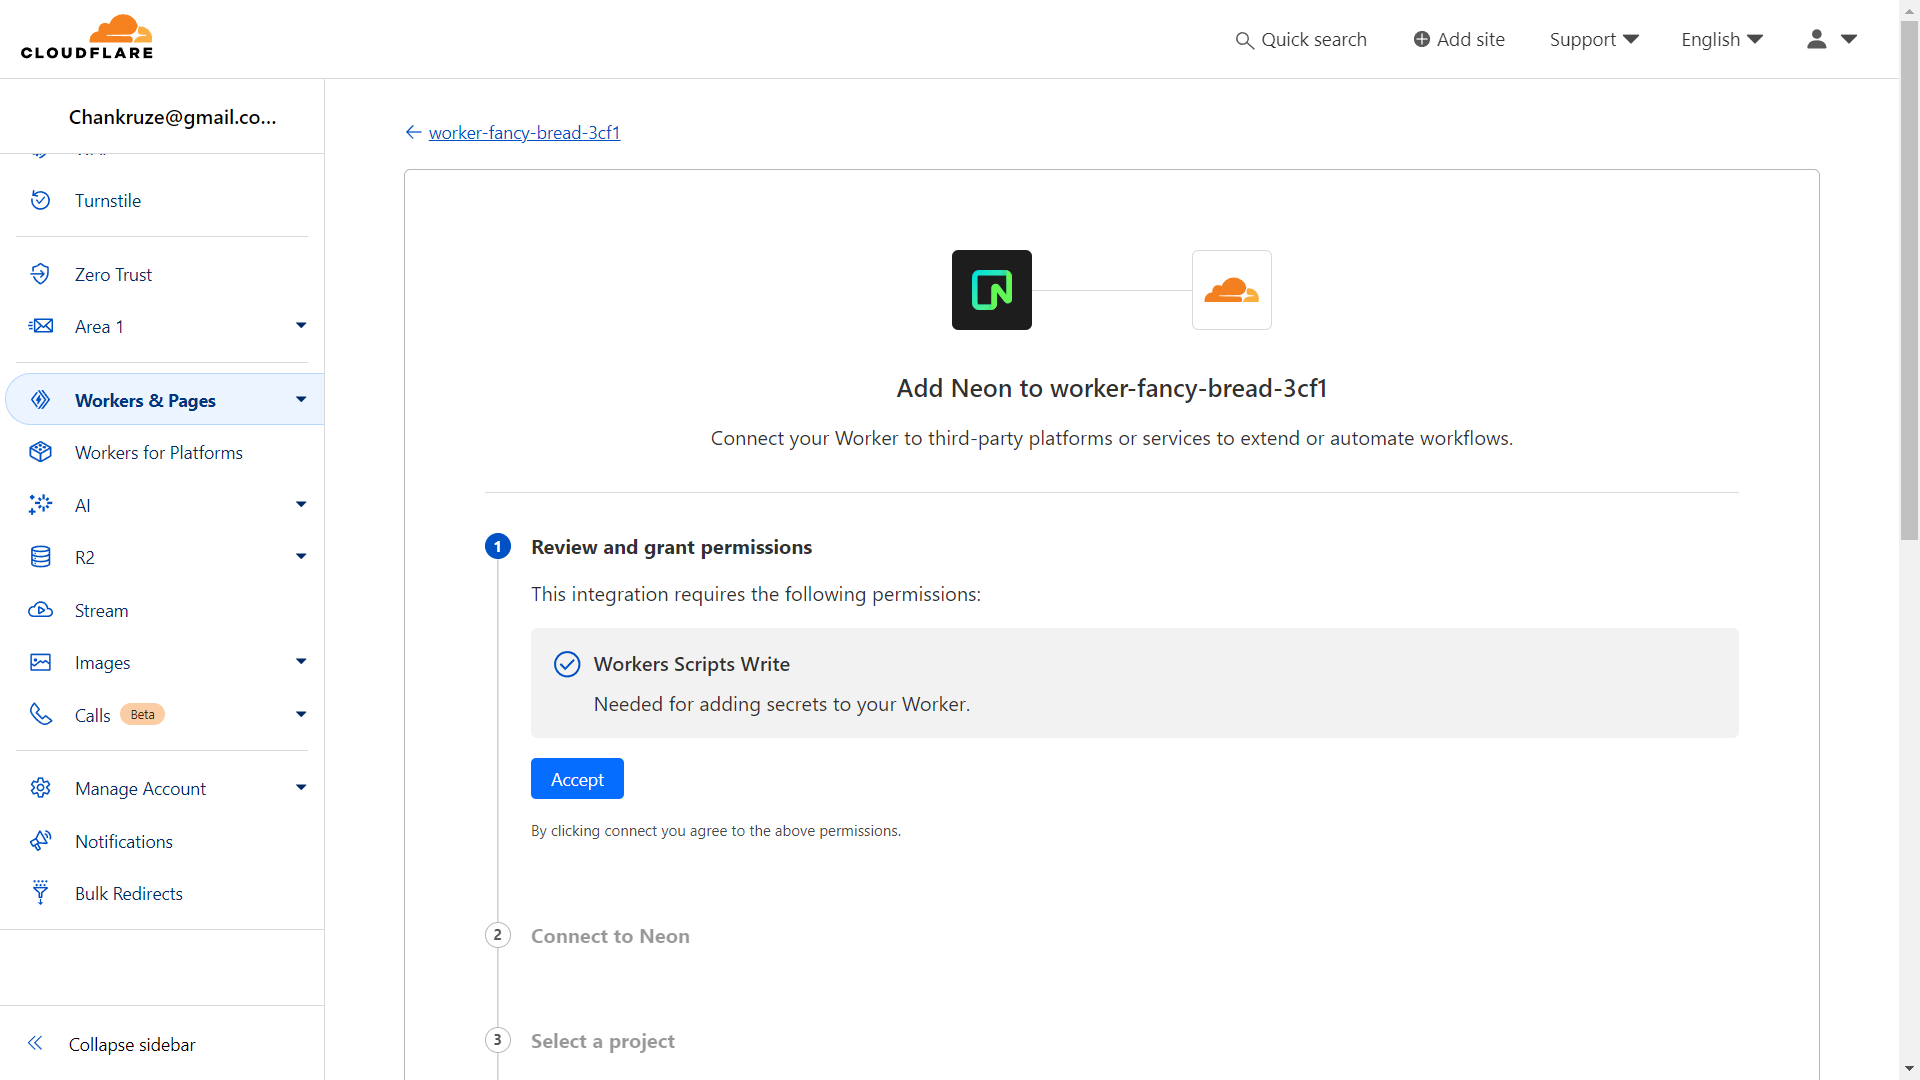
11. Credential management using Cloudflare’s Neon integration
Log into the Cloudflare dashboard, select Workers & Pages from the sidebar, and then Overview.
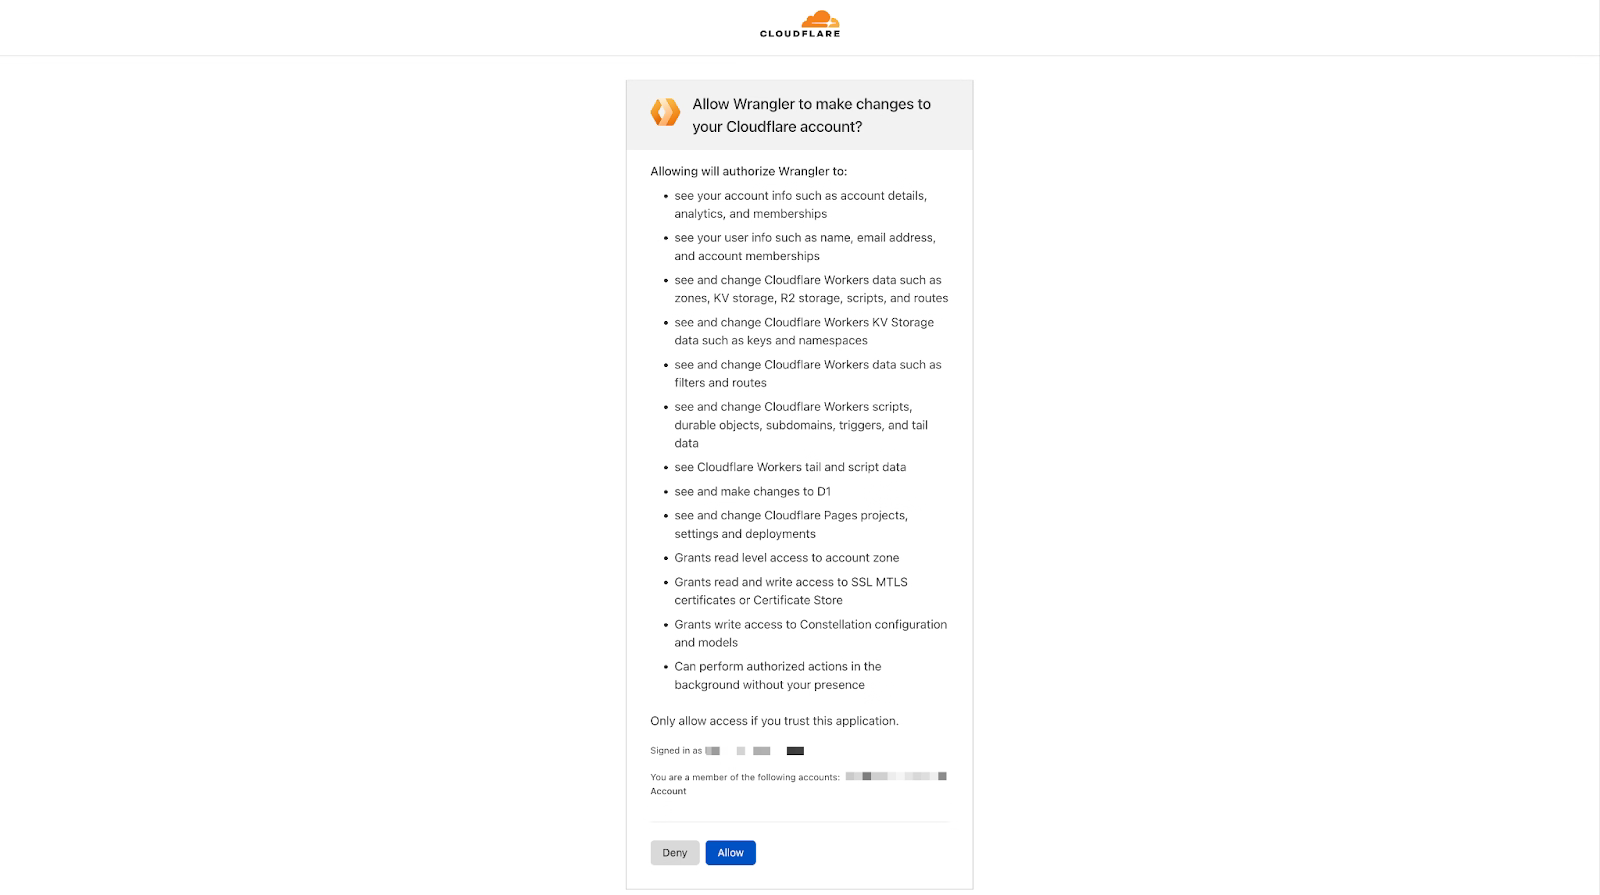
Next, choose the Worker you deployed, go to the Settings tab, choose Integrations, and select Neon. After accepting the terms, you will be redirected to an OAuth consent screen where you can authorize Cloudflare. Finally, select your project, branch, database, and role to finish setting up the integration.
Adding the integration automatically redeploys your Worker. When you visit the deployed Worker, your browser will display data returned from the database as JSON.
Related resources
In this guide, you learned about Cloudflare Workers, Hono, Drizzle ORM, Neon, and how you can use them together to create a serverless API.
If you want to get started building your own projects, review the existing list of Quickstart templates.